Top 10 Cellphone Accessories You Don't Need to Buy
(Because You Can DIY Them for Cheap).
From cables to speakers to stands that prop up your phone, there are more cool accessories out there than you can shake a stick at—and they all seem grossly overpriced. Don't feel like cashing in an arm and a leg to power up your phone? Here are 10 cellphone accessories that are cheap and easy to make yourself.
10. Car Docks
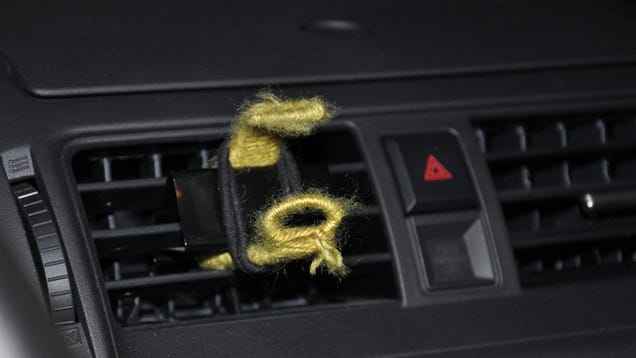
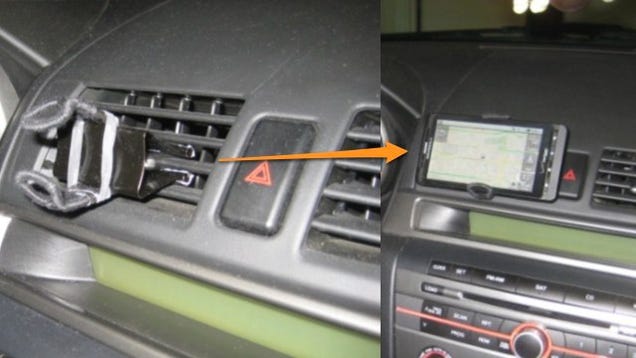
Most smartphones have pretty superb navigation options these days, but you don't want to just stick your phone in your cup holder and try to follow it from there. Car docks can often be pretty pricey, too, but it's pretty easy to throw one together with just a few office supplies. Our favorite is definitely the binder clip car dock, though if you have a car mount from a previous navigation unity lying around, you can mod that to fit whatever phone you have now, too.

9. Styluses
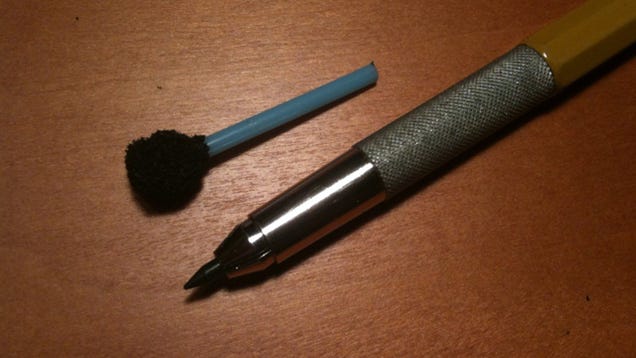
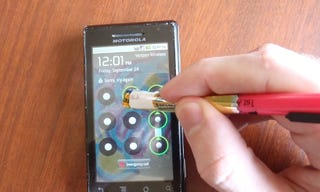
Who would have thought the Samsung Galaxy Note would be so popular 10 years after Palm Pilots and their styluses bit the dust? If you find it handy for jotting notes, drawing pictures on your iPad, or doing other things, you don't need to go out and buy a stylus for your phone. We've shown you tons of ways to make one, from candy bar wrappers to mechanical lead holders to cheap pens, sponges, and dry erase markers. Some are a bit easier than others, so be sure to check them all out and find out which project fits your needs.
8. Rubber Cases
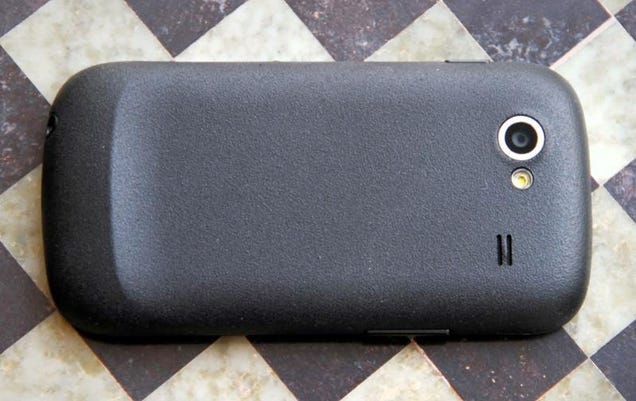
There are a lot of great cases out there, and not a lot of ways to DIY one at home. But if all you want is a little extra protection for your phone, you can give it a little rubberized back with a product called Plasti Dip. It'll give you a better grip, keep it from attracting fingerprints, and add a little bit of extra protection to the back. If you absolutely have to have a full case, there's not a lot you can do unless you have a pretty well-stocked workshop, so you might have to sink a few dollars into it after all.
7. Touch Screen Gloves
 EXPAND
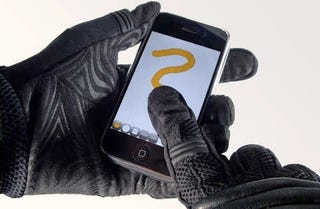
Those of you in the cold white north know how annoying it is that you can't use your phone when you have gloves on—and how annoying it is to take your gloves off when it's 15 below zero outside. If you don't want to go buy a new pair of touch screen-friendly gloves, you can make your own at home with some conductive thread. Alternatively,this 6 Stitch Kit takes all the planning out of your project and will make any gloves touch screen friendly with minimal work.
6. Mini Charging Cables
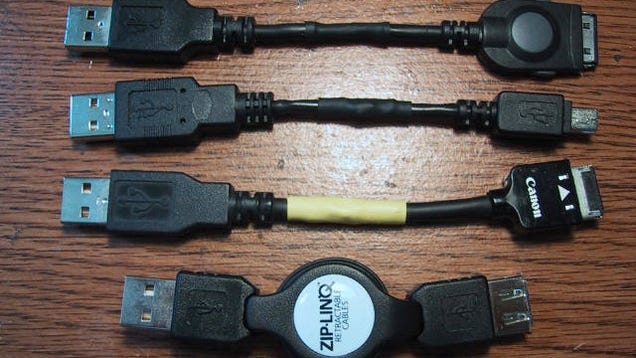
We love these mini cables from Griffin, but it just feels weird paying so much money for a smaller version of something we already have. Instead of buying them, you can just shorten your existing USB cables with a wire stripper and a bit of soldering. You'll save tons of space in your backpack, not to mention never deal with tangled cables again.
5. Headphones with Built-In Remote Controls
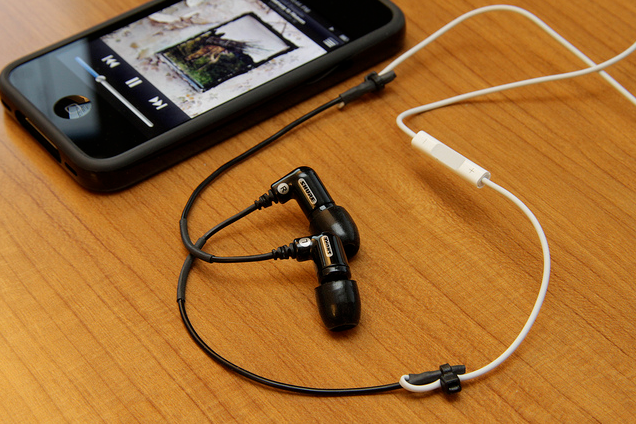
All iPhones come with a pair of crappy headphones with an awesome remote control and microphone built-in. If you actually want a pair of quality headphones, though, you'll have to buy them yourself—and if you already have a quality pair, you'd probably have to buy yetanother pair for phone compatibility. Instead of doing that, you can always splice your existing remote into your existing headphones for free, or better yet, turn your remote control headphones into an adapter so you don't ruin your favorite 'buds. And, if you've made the switch to Android, remember that a little hacking is all it takes to make those iPhone headphones work for you, too.
 EXPAND
If you hate the quality of Apple's included iPhone headset but love the functionality of the remote, here's a quick hack to combine the remote with a better headset for quality sound on the cheap.
Headphone hacker Yutaka Tsutano shows us what is a somewhat complicated hack, but nonetheless do-able. While you can potentially destroy two pairs of headphones, you're really just combining wires and you can recover from an error in the process. Here's how you do it:
- Snip both headsets where you want to combine them, being sure to leave as much extra wiring as you can. You can always cut things shorter but you can't get that wire back once it's gone. Better to have more so you have more room for error.
- Strip the coating off the wires. You'll have one wire for the left earbud and one wire for the right earbud. With some earbuds it'll be obvious which is which because the wires will be colored differently or marked. If this is not the case with yours, you'll want to mark the wires yourself so you connect them correctly.
- Connect the left earbud/channel wire from the iPhone headset to the left earbud/channel wire on your high quality earbuds.
- Wrap some electric tape around the splice and give it a listen. If you did everything right, you should now have a new hybrid headset!
4. Portable USB Chargers
 EXPAND
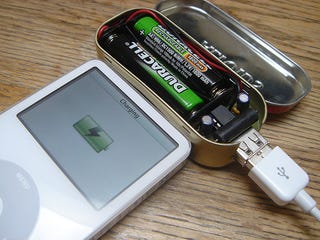
There are about a billion products on the market that will give your phone a little battery boost during the day, but if you don't feel like buying one, you can make one yourself at home out of an Altoids tin. It takes triple A batteries, fits in your pocket, and saves your battery from dying in an emergency. You can also make a solar powered version if you prefer, or just make a quick one out of a 9V battery.
3. Screen Protectors
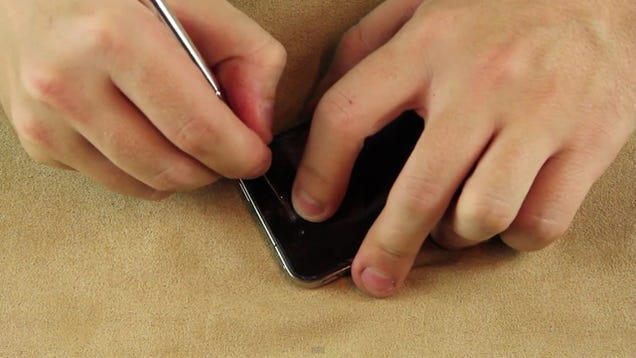
Screen protectors aren't as necessary as they used to be, but if you still want one for your phone, there's no need to buy an expensive one from the store. Just buy a cheap piece of vinyl and cut it yourself with an Xacto knife. Not only is it much cheaper, but making it yourself ensures that it'll fit any device you could possibly need it to.
2. Portable Speakers
 EXPAND
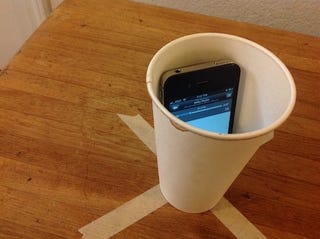
Crappy sounding iPod docks can cost a fair amount of money, and good sounding docks can cost a lot. Why waste your money when you can boost your volume just fine with a paper cup or a cereal bowl? We ran down the most popular free DIY volume boosters and found that some of them worked remarkably well—specifically, sticking your phone in a paper cup. If you want a more involved project though, you can always craft a "speaker" out of a block of wood or make a thin boombox with this cool, minimalist design.
A quick search on Google will bring up countless ways to make DIY speakers (or volume boosting amps) for a smartphone. From a paper cup to a glass jar, nearly all of these will give you some extra volume, but which ones work best? We decided to test out a few of the most popular tricks.
To test the volume, we're using the not-entirely-scientific iPad app Decibel Meter Pro to check sound levels from an iPhone 4S's speaker. We'll also use the same song for each method, The Beatles "Helter Skelter" since it starts out nice and loud with the peak around the 12 second mark. Each different amp had its sound directed at the iPad as best as possible.
The average decibel level in the room prior to playing music was 51. With that, let's take a look at the results.
 EXPAND
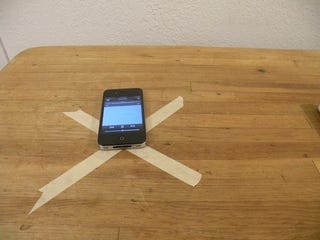
No Amp
Our first test was just the iPhone sitting with no amp on a tabletop. This result of a decibel level of 59 will be our baseline for the amps from here on out.
Decibel Level: 59
Decibel Change: +8
Sound Quality: Poor. Lots of highs and no lows.
Decibel Change: +8
Sound Quality: Poor. Lots of highs and no lows.
 EXPAND
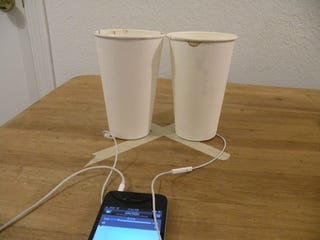
Headphones into Paper Cups
We've walked you through this methodbefore. It's essentially shoving a set of earbuds into a paper cup.
1. Stands and Docks
 EXPAND
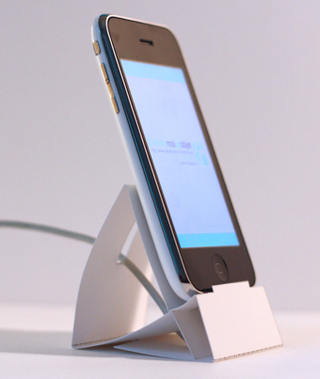
Ever since the invention of smartphones, people have been making DIY docks and stands out of anything they could find. We've featured more than we could ever list, but if you're still in the market for a dock to hold up your phone, check out these posts we've done on the subject:
The bent wire coat hanger
EXPAND
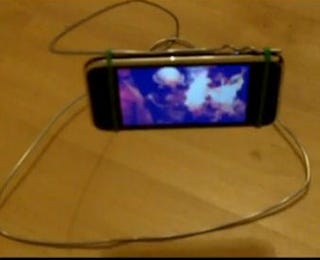
Definitely not the prettiest in the pack, but it works for just about any phone with a wide, flat plane, and it's almost certainly the cheapest out of the bunch, since you don't even need a tool beyond your hands to make it.
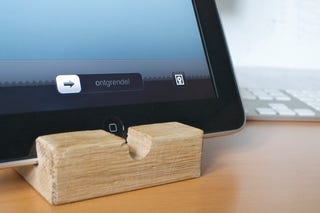
The DIY Wooden Stand
 EXPAND
If the idea of repurposing office supplies doesn't sit well with you, web site Lifehacking (sounds familiar) has a solution for you in the form of the €4 iPad Dock. Lifehacking's dock is handcrafted specifically to the iPad's dimension specs from a soft, non-scratching wood — an homage to Lifehacking's Dutch roots. Like the Fellowes stand, it won't scratch, and can be used while charging. For a little over five dollars, it's a cheap, iPad-specific stand with basic functionality.
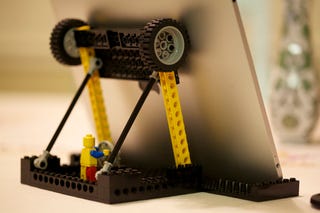
iPad Stand MkII
 EXPAND
Last, but far from least... Jeff Eaton's iPad Stand MkII. We don't have a step-by-step for this one, but even though you might not be able to recreate this exact stand from your very own thirty-pound box of LEGO blocks, you can still marvel at how slick/cool/functional/awesome Jeff's iPad stand is. No word on stability or how much it scratches the device, and it doesn't look like there's an easy way to charge while in the stand, but it's piloted by a little waving LEGO man.
Use Your Glasses as an Impromptu Smartphone Stand
 EXPAND
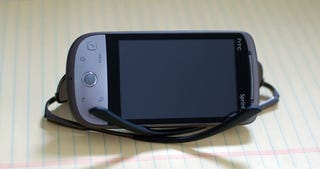
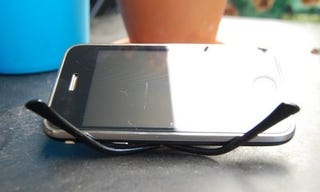
Don't worry about stuffing a dedicated media stand into your bag or cobbling together a DIY stand from parts you scavenge at the office. Reader Nathan Dufault suggests repurposing your glasses as a simple smart phone stand.
This hack works best with sunglasses or prescription glasses for the nearsighted—farsighted people, of course, need their glasses to see the media player screen clearly. All you do is lay the glasses upside down with the temple pieces curve-up, open the temple pieces slightly, and rest the smart phone on them. You'll need to adjust them to get the temple pieces out of the way of the screen. The texture and curve of the temple pieces on most glasses is just right for propping the phone up. Check out our test run in the photo above—we used cheap sunglasses—and reader Nathan Dufault's setup in the photo below.
 EXPAND
Have a clever smart phone stand to share? Let's hear about it in the comments. Thanks
0 comments:
Post a Comment